
Matte Laminated MTG Proxies That Feel Better in Sleeves
Better sleeve feel than most cheap home proxy methods, with softer blacks as the main tradeoff.
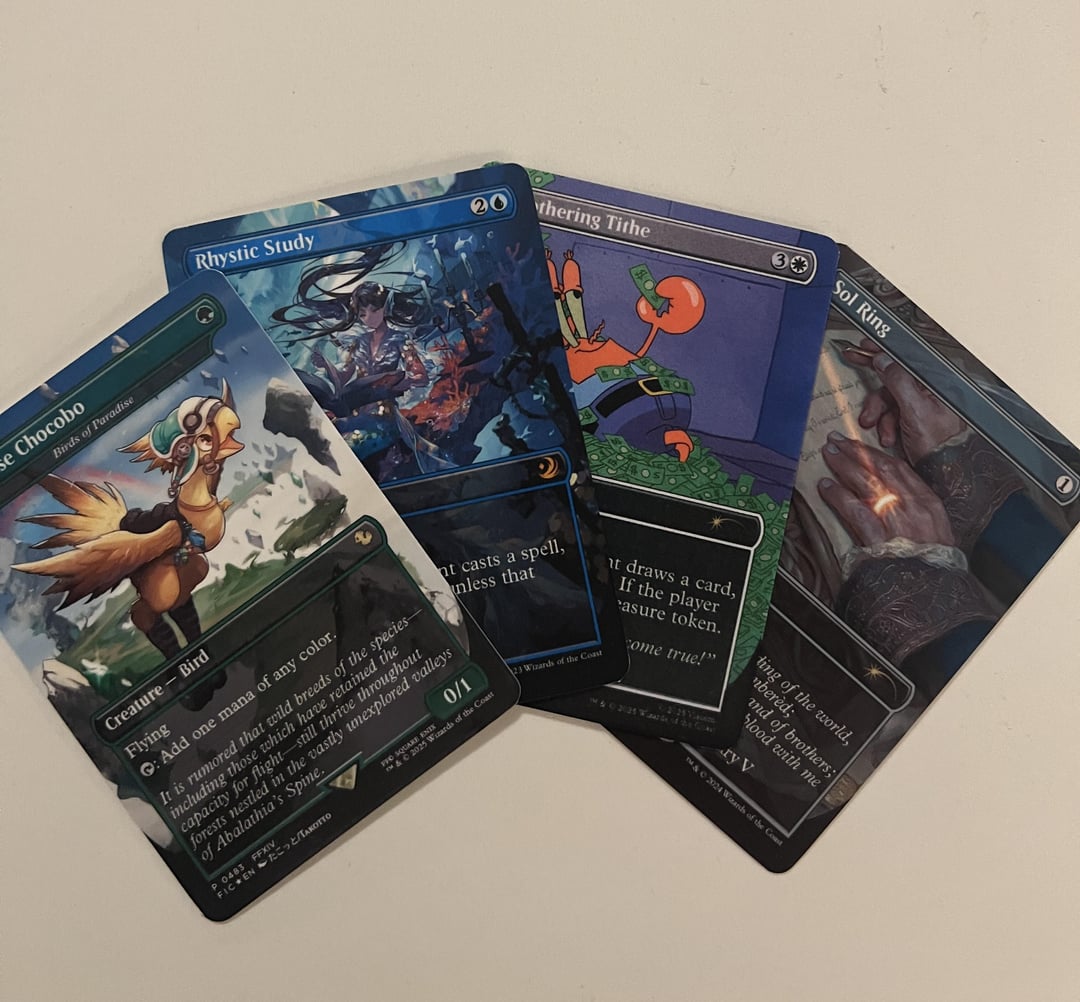
Some home MTG proxies look fine in a photo but feel wrong the second you shuffle them.
This setup is interesting because it is trying to solve the opposite problem. The cards are not visually perfect. The black borders are not as dark as they should be, and the matte finish softens the image a little. But the weight, bend, and sleeve feel are the part that finally started working.
For casual play, that tradeoff can be worth it. A proxy that feels normal in a sleeve is often more useful than one that looks sharper raw but handles like a sticker project.
The setup uses a Canon G3270 ink tank printer, double-sided matte Canon paper, matte laminating pouches, a basic Scotch laminator, MTGPrint for choosing card versions, Proxxied for layout, and a corner cutter from Amazon. The post calls the printer “Epson G3270,” but G3270 is a Canon MegaTank model, and the paper used is Canon paper, so this guide treats it as the Canon G3270 setup.
This is not about counterfeits or selling fake cards. This is about making playable MTG proxies for casual decks, family Commander nights, testing, and custom table projects where the point is more Magic, not more secondary-market pain.
Ranked Verdict
| Category | Score | Notes |
|---|---|---|
| Feel in sleeves | 4.3 / 5 | The paper plus matte laminate stack is the main win. |
| Visual sharpness | 3.5 / 5 | Clean enough for play, but matte fog and softer blacks are real. |
| Cost/value | 4.0 / 5 | Good value if you will keep using the printer and laminator. |
| Speed | 3.2 / 5 | Repeated laminator passes slow the process down. |
| Full-deck confidence | 3.3 / 5 | A full 100-card deck-box test is still the big thing to prove. |
I would rank this above most beginner sticker-heavy setups for sleeve feel. I would rank it below a proper black-core or professional print setup for final finish. That is still a good place to land for a home method built from normal supplies.
The Setup
| Part | Used here | Practical note |
|---|---|---|
| Printer | Canon G3270 / MegaTank-style ink tank printer | Good running-cost logic. Ink tanks are much easier to live with than normal cartridges. |
| Paper | Canon double-sided matte paper | The linked paper appears to be 240gsm, despite some uncertainty in the discussion. |
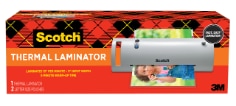
| Laminator | Basic Scotch laminator | Nothing fancy, which makes the result more interesting. |
| Laminating pouches | Scotch matte laminating pouches | The key part of the feel. The paper alone was too thin. |
| Layout workflow | MTGPrint for card versions, Proxxied for print layout | Fast selection plus cleaner cut guides. |
| Finishing | Corner cutter from Amazon | Small finishing detail, big difference in hand. |
The appeal is that nothing here is extreme. The Canon G3270 is a budget-friendly ink tank printer. The Scotch laminator is basic. The paper and pouches are normal home and craft materials. This is not a mini print shop. It is a home proxy setup that got the feel close enough to be satisfying.
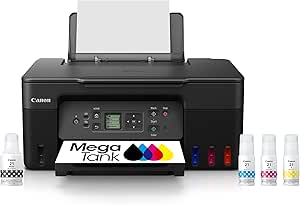
Why the G3270 Makes Sense
The G3270 is not the fanciest printer in the world. That is kind of the point.
For home proxies, an ink tank printer gives you a better chance of printing often without feeling punished by ink costs. Cartridge printers can produce good-looking cards, but the refill economics get annoying fast if you are building decks in batches.
The G3270 also sits in that useful beginner zone: affordable enough to consider, capable enough to test real proxy workflows, but not so expensive that every failed sheet feels like you should have just bought the real cards.
The weakness is black depth. Matte paper and matte laminate do not give the same punch as glossy photo paper or a cleaner professional print. The black borders can look lighter than real Magic cards. You can push saturation and density a bit, but matte material will still look like matte material.
That is not necessarily a dealbreaker. It just means this setup is better for people who value feel over maximum visual contrast.
The Paper and Laminate Are Doing the Heavy Lifting
The paper alone was too thin. The paper plus matte laminate is where the setup starts feeling right.
That is a useful reminder: proxy materials need to be judged as a final stack, not as individual products. Paper weight, pouch thickness, sleeve thickness, ink coverage, and cutting all change the finished card.
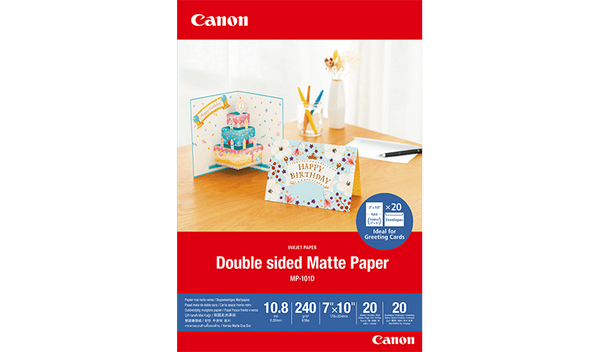
There was some confusion around the paper weight. One number mentioned was 160g, but the linked Canon paper appears to be 240gsm. That is not a tiny difference. A 160gsm sheet and a 240gsm sheet will not behave the same once laminated.
If copying this setup, follow the actual linked product first, not the casual number from memory.
The Lamination Process
This is not just one quick pass through the laminator.
The cards are printed onto matte paper, left to sit for a few minutes, then placed into matte laminating pouches. The sheet goes into the laminator sealed-end first. After the first pass, it gets run through one or two more times before cutting.
Then the cards are cut, corners are rounded, and the individual cards are run through the laminator several more times.
| Stage | What happens |
|---|---|
| Print onto double-sided matte paper. | |
| Short rest | Let the sheet sit for a few minutes. |
| Full-sheet lamination | Insert sealed end first and laminate the full sheet. |
| Extra sheet passes | Run the full sheet through another 1 to 2 times. |
| Cutting | Cut the cards and round the corners. |
| Individual passes | Run individual cards through the laminator several more times. |
That extra lamination time is probably why the feel improves. It also means this is not a fast setup. Making nine cards is fine. Making a full Commander deck means you are signing up for real time at the laminator.
Matte Finish: Nice Feel, Softer Image
The matte finish is the reason this setup works and the reason it has limits.
On the good side, it cuts down the plasticky gloss that makes some home proxies feel wrong. It gives a softer, more natural texture. In sleeves, that matters a lot.
On the bad side, matte material fogs the image a little. It also makes the black borders weaker than normal cards. The cards can still look good, but they will not have that deep, sharp black-border look people chase with glossy photo paper or professional prints.
I would accept that for casual Commander. A slightly softer black border bothers me less than a proxy that feels like laminated craft paper in the hand.
The Orange Peel Problem
One thing to watch is orange peel texture. It is the slightly bumpy surface texture you sometimes see after lamination, kind of like a bad paint job.
Matte laminate hides it better than glossy laminate, but it can still be there. Very fine sanding, like 3000 grit, has been suggested by some proxy makers, but that is risky. It can help a finish, or it can turn a decent proxy into a scratched-up mess.
Better temperature control might help, but now the budget setup starts becoming less budget. Personally, I would not chase a perfect satin surface here. If the card feels good in sleeves, that is already the win.
Thickness and Deck-Box Risk
The cards are a bit thicker than normal, but small sleeved tests did not make the difference obvious.
The problem with laminated proxies is that thickness surprises you at deck scale. One card feels fine. Ten cards feel fine. Then a full Commander deck starts fighting the deck box.
| Test | Why it matters |
|---|---|
| Single-card sleeve test | Checks whether the finish feels annoying. |
| 10-card stack | Shows early thickness buildup. |
| 30-card stack | Better preview of real deck handling. |
| 100-card deck-box test | Proves whether the method actually works for Commander storage. |
I would not print 100 cards immediately. I would make a 9-card sheet, then a 30-card stack, then check deck-box fit before doing the whole deck. That sounds cautious, but it saves paper, ink, pouches, and a lot of cutting time.
MTGPrint Plus Proxxied Is a Smart Combo
The workflow used MTGPrint to choose exact card versions, then Proxxied for print layout and cut guides.
That is a practical combination. MTGPrint is fast for browsing versions. Proxxied gives a print layout that some proxy makers prefer for cutting.
| Tool | Why use it? |
|---|---|
| MTGPrint | Fast card and version selection. |
| Proxxied | Cleaner layout and cut-guide workflow. |
This is the kind of small workflow detail that makes a real difference. Most good proxy setups are not one magic tool. They are a chain of tools that each solve one annoying problem.
More layout and finishing tools can go under MTG Proxy Tools.
Where I’d Spend and Where I’d Save
| Area | Verdict | Reason |
|---|---|---|
| Ink tank printer | Worth it if you print often | Cartridges get expensive fast for full-color proxy sheets. |
| Matte paper | Worth testing | The feel is the point of this method. |
| Matte pouches | Important | The paper alone is too thin. The pouch stack changes everything. |
| Better laminator | Maybe later | A better machine may help finish consistency, but prove the method first. |
| Corner cutter | Worth it | Clean corners make home proxies feel much less homemade. |
| Professional printing instead | Worth considering if time matters | DIY is satisfying, but repeated lamination is slow. |
This is a good budget experiment if you enjoy making the cards yourself. If you hate the craft process and just want clean finished decks, ordering from a proper proxy printer services, those stronger routes when your time is worth more than the DIY learning curve.
Best Use Cases
This setup makes the most sense for casual, sleeved play where feel matters more than perfect visual matching.
- Family Commander decks
- Shared deck pools
- Cube-style proxy sets
- Casual Standard or kitchen-table nights
- D&D / Magic hybrid cards
- Budget playtesting where the deck still needs to feel good
It makes less sense for display proxies, unsleeved play, or people chasing the sharpest possible black borders. Matte lamination is not the finish for that.
Likely Problems and Fixes
| Problem | Likely cause | What to try |
|---|---|---|
| Black borders look too light | Matte paper and matte laminate soften the image. | Increase saturation or density slightly, but accept that matte will not look like glossy. |
| Cards look foggy | Matte laminate over matte paper. | Let prints sit before lamination and test saturation changes. |
| Orange peel texture appears | Laminator heat, pressure, or pouch texture. | Try different pouches or a better laminator. Sanding is risky. |
| Cards feel too thick | Paper plus pouch plus sleeve stack is too much. | Build a 10-card and 30-card test stack before printing a full deck. |
| Cards curl | Lamination heat or material tension. | Repeated lamination may help, but test before batch printing. |
| Cut edges look rough | Bad cutter or rushed cutting. | Use a cleaner cutter and do not skip corner rounding. |
| The process feels too slow | Too many laminator passes. | Use this for special decks or small batches, not every random test list. |
Final Take
This is a strong ranked setup for one specific goal: matte proxies that feel better in sleeves without turning your desk into a professional print shop.
It is not perfect. The black borders are softer than real cards, the matte finish adds some fog, and the full Commander deck thickness still needs a proper test. But the play feel seems to be the win, and that matters more than people admit.
If copying it, start small. Make one sheet. Sleeve the cards. Build a 30-card stack. Check a deck box before making 100. Do not turn a good budget method into a full-deck waste pile just because the first photo looked nice.
For DIY proxy makers who hate stickers and want a less glossy finish, this is a very solid route. For perfect blacks, sharper art, or zero setup hassle, a professional print option is probably the better spend.
For more printer routes, start with MTG Proxy Printers. For paper experiments, check MTG Proxy Cardstock. For cutters, laminators, and layout tools, use MTG Proxy Tools.
Inspired by: Finally happy with my first more legit feeling proxies! by u/UntapUpkeepDraw4.
Pros
- Great matte sleeve feel
- Budget-friendly ink tank route
- Avoids sticker layering
- Good for casual Commander batches
- Uses accessible home tools
Cons
- Black borders are not deep enough
- Repeated lamination is slow
- Full deck thickness needs testing
- Matte finish adds slight fog
- Not ideal for perfect visual matching
Final Verdict
Final verdict: This is a strong budget DIY setup if you care more about matte sleeve feel than perfect black depth. The repeated lamination adds time, and the cards may run thicker than a normal deck at full Commander scale, but the result is practical, playable, and much less plasticky than many cheap home proxy builds.
Comments (0)
Join the discussion. Log in or create an account to comment.